With its moody black frosting and stretchy marshmallow webs, this Spiderweb Cake is sure to bring the spooky vibes. Not only is this cake frighteningly festive, it’s also deceptively easy to make. It comes together quickly with Betty Crocker™ devil’s food cake mix and chocolate frosting, along with a little black food coloring and a clever marshmallow spiderweb hack.
Recipe Ingredients
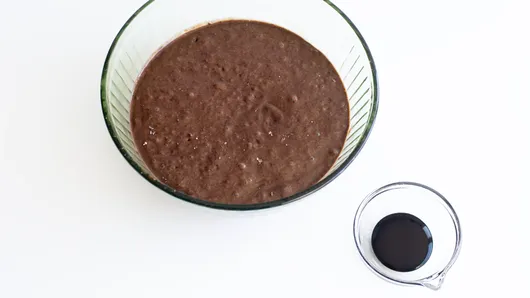
Here’s a peek at the ingredients for this spooky spiderweb cake.
Devil’s Food Cake Mix: The perfect foundation for this cake. Coffee replaces the water called for on the package, boosting the rich chocolate flavor.
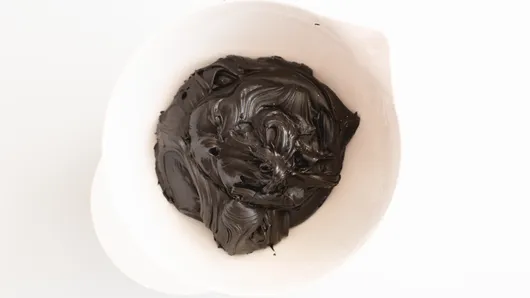
Chocolate Frosting: A creamy classic and great base for tinting with black food gel for a spooky canvas to adorn with spiderwebs.
Black Gel Food Color: Key for tinting this cake and giving it its haunting black hue.
Marshmallows: Mini marshmallows are transformed into sticky, stretchy webs that give this cake its namesake decoration.
Other Ingredients You’ll Need: Prepared coffee, oil, and eggs.

Ingredients
Cake
- 1 box Betty Crocker™ Super Moist™ Devil’s Food Cake Mix
- 1 cup prepared coffee, room temperature
- 1/2 cup vegetable oil
- 3 large eggs
- 1 teaspoon black gel food color, if desired
Frosting & Decoration
- 1 tub (16 oz) Betty Crocker™ Rich & Creamy Chocolate Frosting
- 2 teaspoons black gel food color
- 1 1/2 cups mini marshmallows
- Plastic spiders, if desired

Instructions
-
Step
1
Heat oven to 350°F. Grease two 8- or 9-inch round cake pans with cooking spray or shortening. Line the bottom of the pans with parchment paper.
-
Step
2
In a large bowl, combine the cake mix, coffee, oil, and eggs. Beat with an electric mixer on medium speed for 2 minutes. Add 1 teaspoon of the black food coloring and mix thoroughly.

-
Step
3
Divide the batter between the prepared pans. Bake 24 to 28 minutes on the center rack of the oven or until toothpick inserted in the center comes out clean and top springs back when lightly touched in the center. Cool for 10 minutes; remove from pans to cooling racks. Cool completely.
-
Step
4
In a medium bowl, combine the frosting with 2 teaspoons of black gel food color and beat with an electric mixer until smooth and thoroughly blended.

-
Step
5
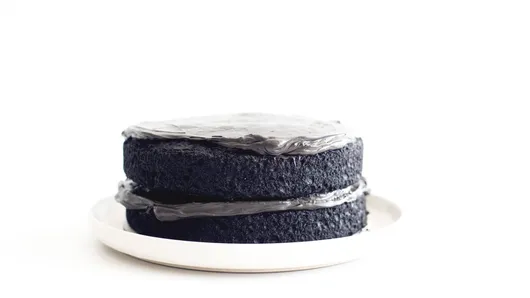
Spread a dollop of frosting onto a serving plate and place one of the cake layers on top. Spread 1/4 of the frosting on top of one of the cakes. Top with the second cake. Using an offset spatula or the smooth side of a butter knife, frost the entire cake with the remaining frosting.

-
Step
6
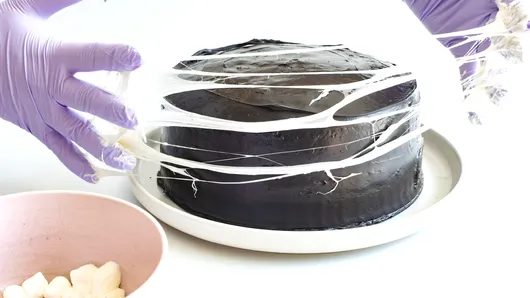
Put on a pair of clean, disposable kitchen gloves as the marshmallows are very sticky to work with and can be a bit hot. Microwave a small handful of the marshmallows (about 1/3 to 1/2 cup) on High for 10 to 15 seconds or until just beginning to puff. Grab a handful of the microwaved marshmallows and smash between your hands in a slow-motion clapping movement, repeating until you have stretchy strands of marshmallow between your hands. Wrap the strands of marshmallow around the frosted cake. Repeat microwaving and stretching the remaining marshmallows in batches until you have the desired spiderweb effect. You may need to wear a new pair of gloves for each batch of marshmallows. Decorate with plastic spiders, if desired. Remove spiders before serving.

Nutrition
Recipe Tips
-
tip 1
-
tip 2
-
tip 3